AWS
Consuming data from AWS requires a service user with the following IAM read-only access for each AWS account to be integrated.
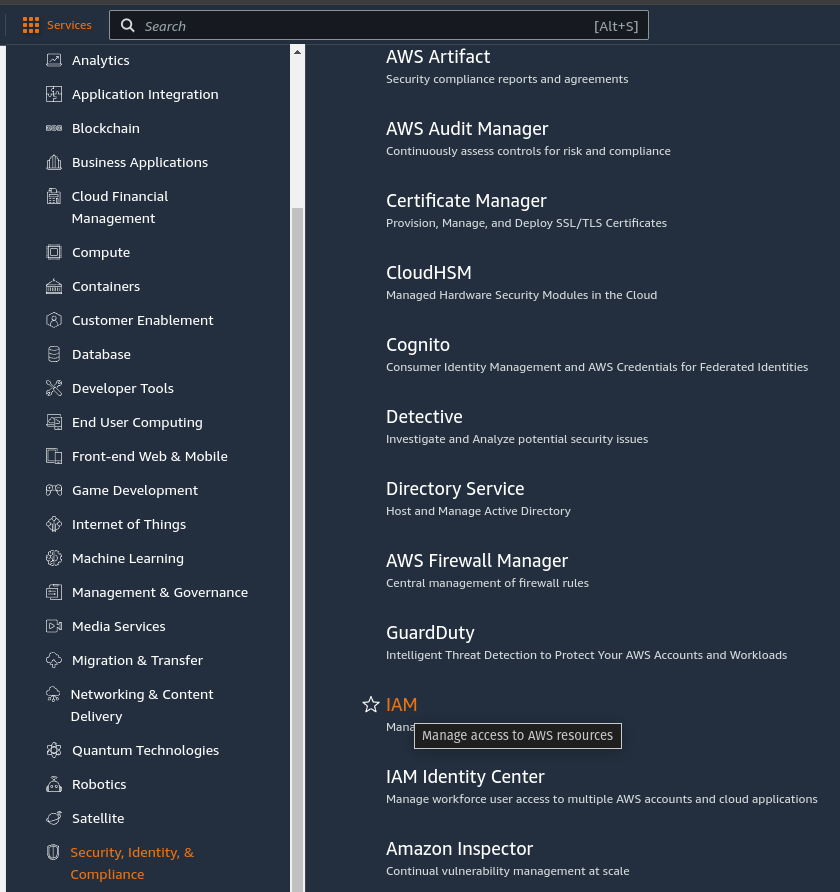
Step 1 - Security, Identity, & Compliance
Navigate to the Security, Identity, & Compliance menu and choose “IAM”.

Step 2 - Create a new user

Click "Create user".

Give the user a name (e.g., CommandCenterSvcUser) and do not choose "AWS Management Console access," then click "Next."

Click "Attach policies directly."

Select these three policies: ReadOnlyAccess, CloudWatchReadOnlyAccess, and AmazonSSMReadOnlyAccess. You will have to toggle to the All types filter.

Click "Next" and "Create User" to complete the new user Creation.

Step 3 - Create Access Keys.
Click on the user, and then Security Credentials.

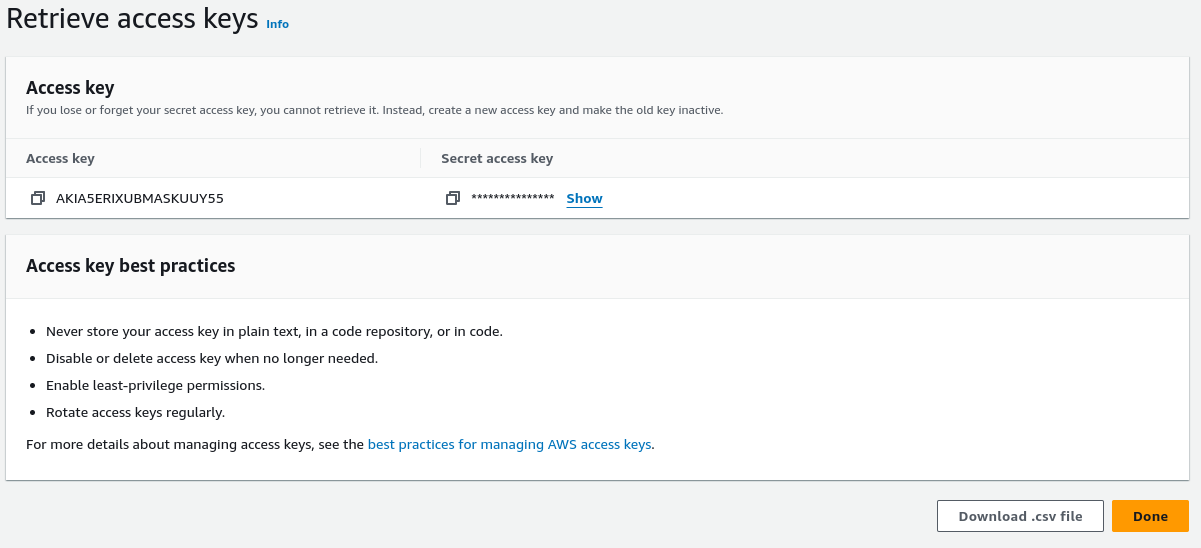
Navigate to Access Keys, and click "Access Keys."

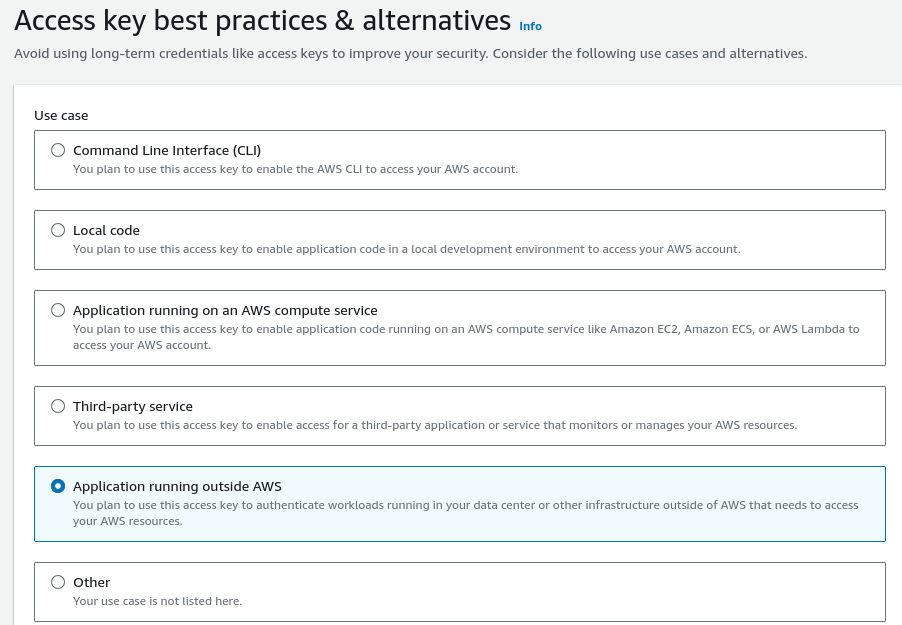
Click "Create Access Keys," then choose "Application running outside AWS." Click "Next" and give the keys a name.

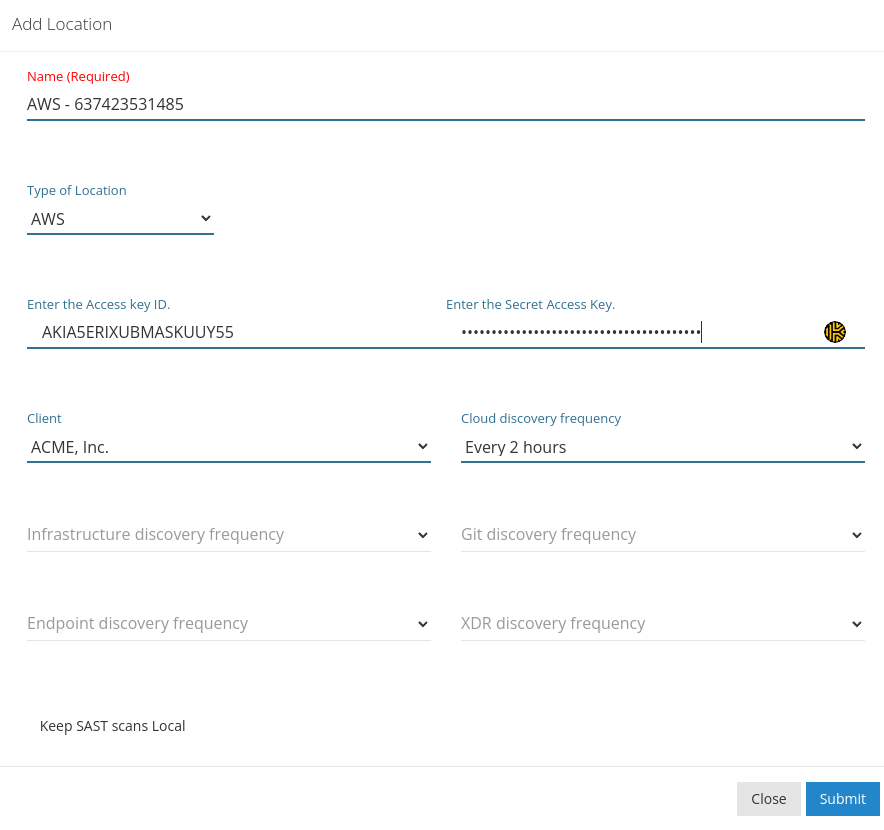
Step 4 - Create a new Location in Command Center with the Access Keys.
Copy the keys and create a new Location in the Command Center.

In Command Center, browse to Organization > Location. Click "Add Location" at the top right corner.

Give the Location a name, choose AWS as the type of location, and enter the keys. Then, choose Cloud Discovery Frequency. Click "Submit."

Updated 1 day ago