Deploying a scanner from an OVA
The following instructions document the process of deploying a ccscanner ova appliance.
Command Center uses scanners to ingest data for Vulnerability Management purposes.
A Command Center Scanner has three jobs. 1) is to scan and probe a system or applications actively, 2) retrieve data from system integrations using API’s and SSH. 3) lastly, the scanner is used as a platform for penetration testers to perform penetration testing tasks against systems and applications scoped in the Rules of Engagement (ROE).
Step 1 - Download the OVA
Download the latest OVA, or add the URL in vCenter for deployment.
URL:
https://elasticbeanstalk-us-east-1-749985416486.s3.amazonaws.com/ccscanner-1702774743.ova
Step 2 - Deploy OVF Template
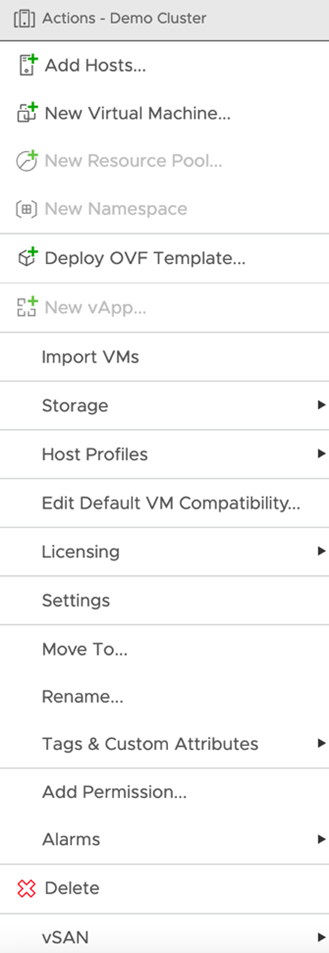
Choose File > Deploy OVF Template.
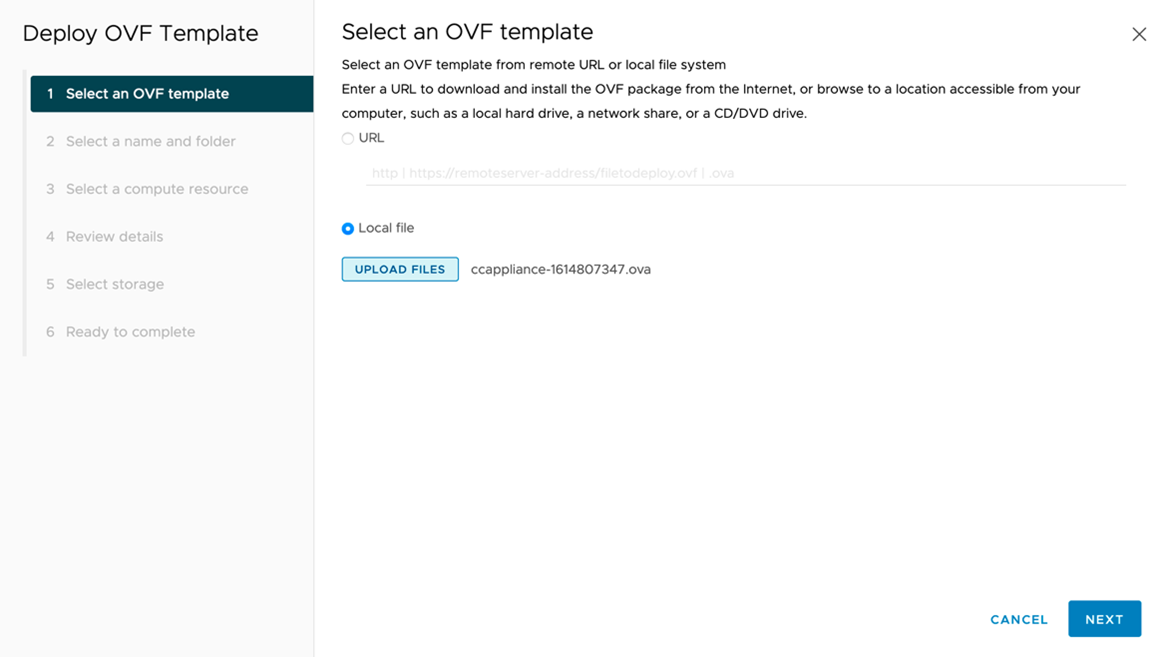
Select the downloaded OVA or enter the URL, and then choose next.
Step 3 - Name the appliance
Give the appliance your desired name and cluster. In this example, we are using ccapplicance-1. Then click next.

Step 4 - Select the resources
Select the proper resource to run the virtual appliance on.

Review the details, verify they are correct, and click next.

Step 5 - Select storage
Choose your preferred storage options.

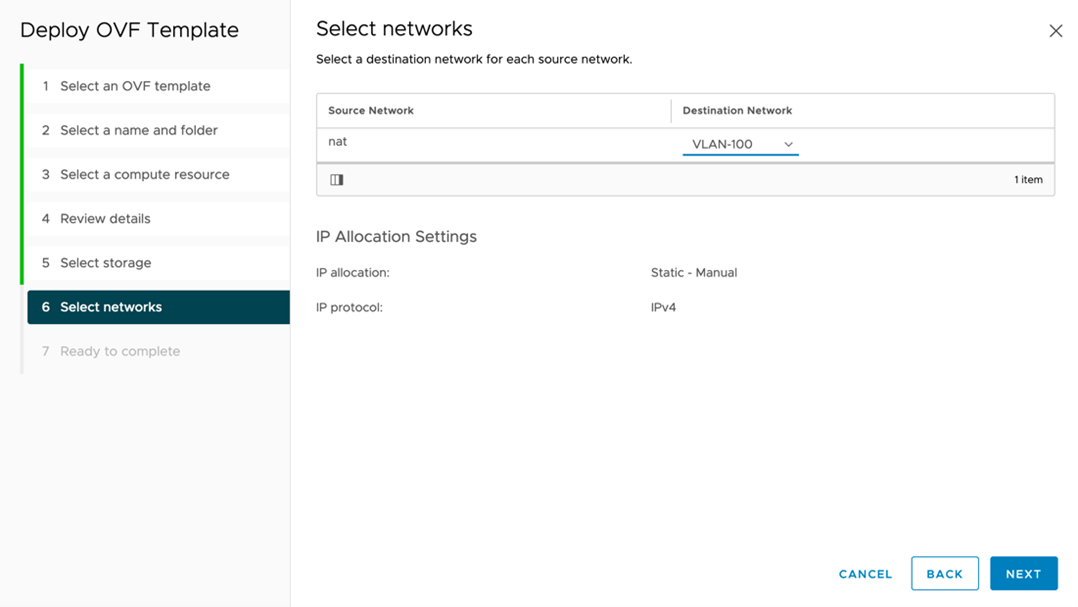
Step 6 - Choose the network
Choose your preferred network options.

Review your network options and click next.
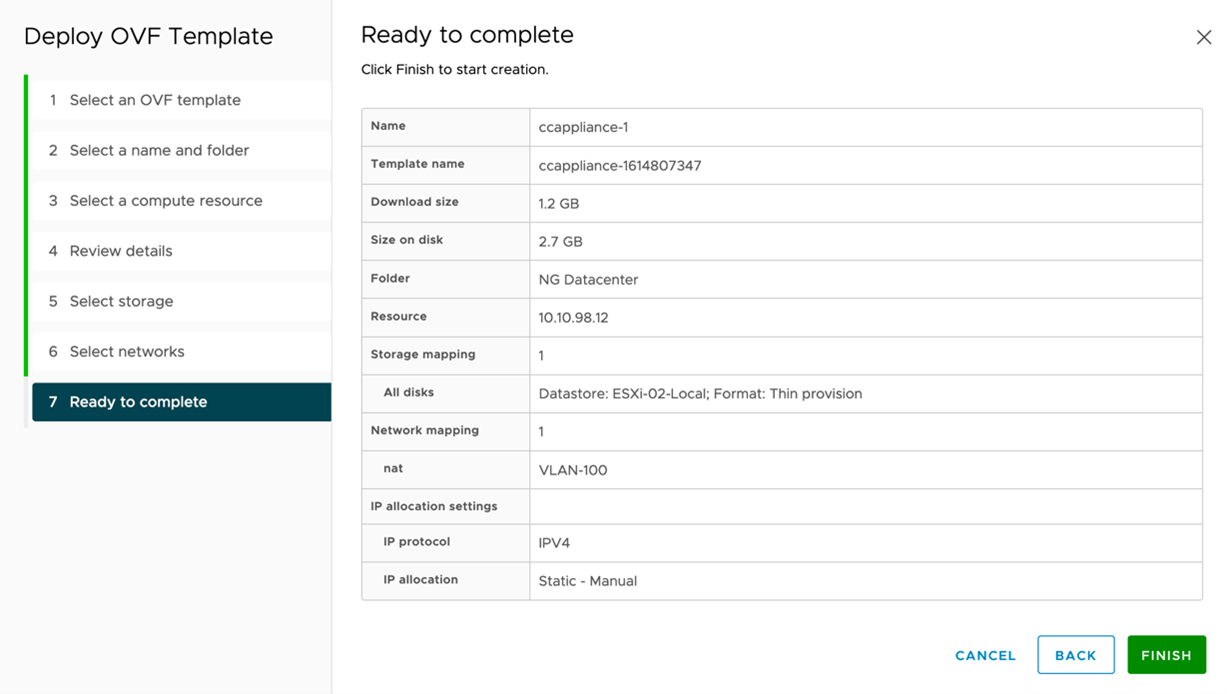
Step 7 - Review and Finish
Review and click Finish to deploy the virtual appliance.
Step 8 - Verify network access
Once the system is fully booted, you may need to modify the following parameters.
- Network Interface name and IP address
- Hostname
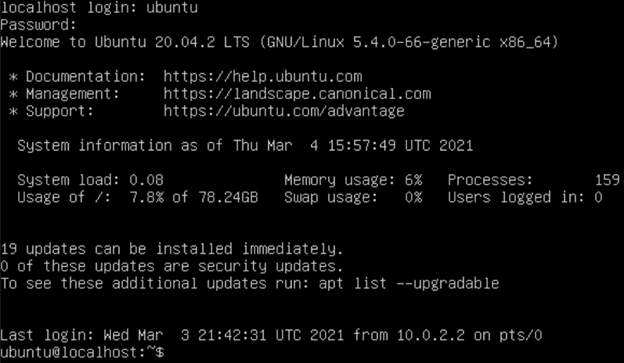
Login to the newly deployed appliance with the username ubuntu and the password Youshou1dch@ng3measap.
Step 8a - Modify the adapter name
Check the proper name for the ethernet adapter. Use the ip address command.
In our example, you can see that the name of our adapter is “ens32”, and it does not have an IP address. We will fix this using netplan.

Using a text editor, open the default netplan configuration. In our example, we use vim to edit the yaml file. Nano is also available.
sudo vim /etc/netplan/00-installer-config.yaml
Once the configuration is open, you will see that the adapter's name is “enp0s3”; this is used during the OVA build process. This needs to be replaced with the name of your adapter from the output of the “IP address” command. In our example, it is “ens32”
Before the change:

After the change:

Apply the changes with sudo netplan apply and then view the changes with the ip address command.

DHCP is enabled by default; if you require a static address, change the netplan configuration as follows. Apply the change with sudo netplan apply.
network:

    ethernets:

        ens32:

            addresses: [192.168.199.10/24]

            gateway4: 192.168.199.1

            nameservers:

                search: [mydomain.local]

                addresses: [172.31.254.15, 172.31.254.1]

    version: 2
Step 8b - Modify the hostname
Using a text editor to open and modify the hostname file.
sudo vim /etc/hostname
ccappliance-1
Next, modify the hosts file.
sudo vim /etc/hosts

Next, configure the appliance.
Updated 8 months ago